Building Custom Liquor Shelves
Introduction
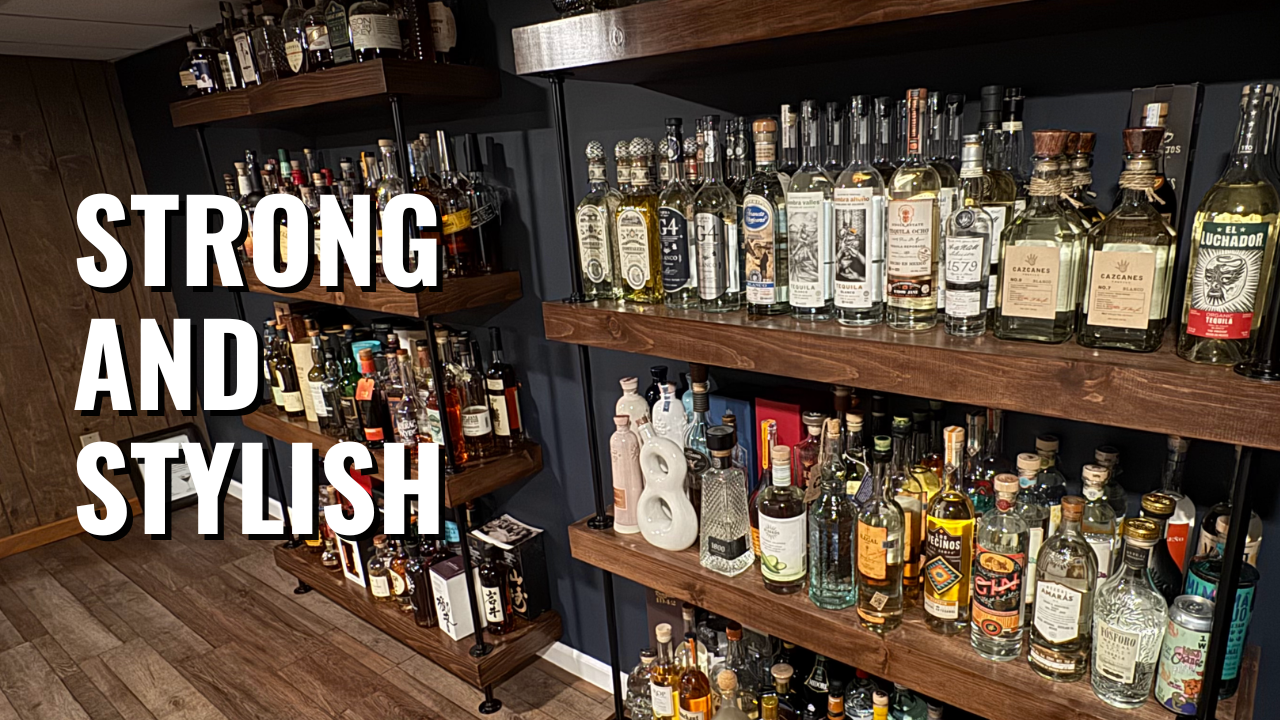
What do you do when a customer calls and says they have a basement full of liquor bottles and need shelves that are both functional and a focal point? You start brainstorming. When they want eight shelves, it becomes a real challenge—but I'm always up for it. From designing the size and spacing to finding the right hardware for support, this project had its fair share of hurdles.
Materials and Hardware
After taking all the necessary measurements, I created a mockup in SketchUp to optimize the space. The bottom shelf was designed to sit as low to the ground as possible while still looking balanced. I spaced the next shelf at 16 inches to accommodate larger bottles, followed by two shelves with 14-inch spacing, leaving about 10.5 inches at the top.
Key Materials Used:
- Support Hardware:GeoSpace Decorative Pipe Brackets - These industrial-style pipe brackets provide both the strength needed for heavy bottles and a stylish aesthetic that complements the shelving. They come in various sizes and were perfect for our spacing requirements.
- Shelf Material: Common board for the main shelf construction
- Finish: Pre-stain wood conditioner and gel stain for an even, professional look
The key to this project was finding hardware that could both support the weight of multiple liquor bottles and match the intended style. The GeoSpace brackets proved to be both cost-effective and visually appealing, offering the industrial look we were aiming for.
Construction Process
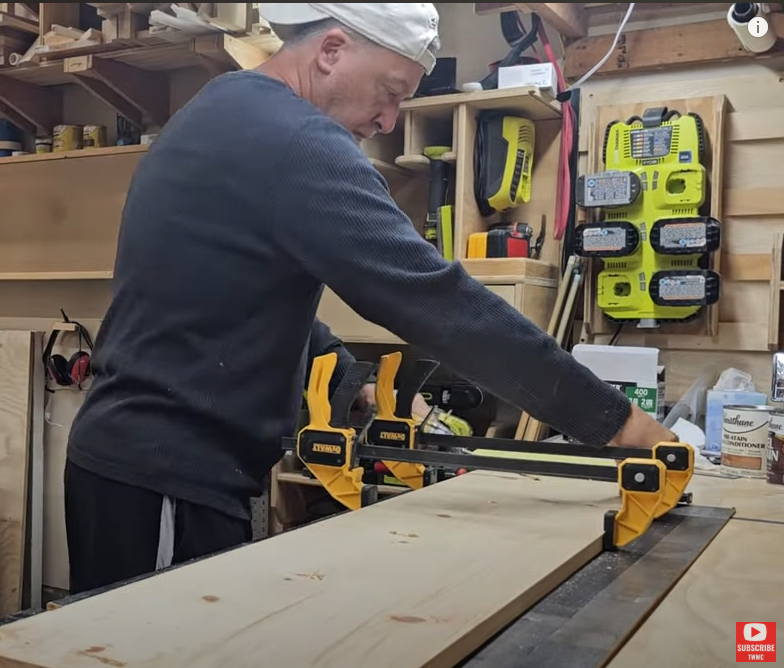
I started by ripping down the boards to create panels wide enough for the tops and bottoms of all eight shelves. Then, I cut additional pieces for the front and sides. To ensure stability while ripping the boards, I used a featherboard for added security.
Since I don't have an abundance of clamps in my shop, I used pocket holes and screws as makeshift clamps while the glue dried. After assembling 16 boards, I removed the screws before running them through the planer.
This method of using pocket holes as temporary clamps proved to be an effective workaround, allowing me to maintain tight joints while the glue set. The key was making sure to remove all screws before the planing process to avoid any potential damage to the equipment.
Sanding and Staining
For this project, I decided to test out a pre-stain wood conditioner for the first time. After letting it sit for 30 minutes, I applied a gel stain instead of a traditional liquid stain. The verdict? Yes, the pre-stain conditioner made a noticeable difference, resulting in a more even stain finish.
Assembly and Installation
The top and bottom panels of the shelves were the first to go together. I pre-stained the wrap-around boards that would cover three sides, leaving one side open for the wall bracket. To maintain the correct grain direction, I marked the tops and bottoms for easy reference while cutting.
One small but important detail—I intentionally made the brackets slightly shorter than the shelves themselves. This provided wiggle room to adjust them left or right during installation if the wall studs didn't align exactly where we wanted the shelves.
Final Thoughts
This project was a great example of balancing aesthetics with functionality. The shelves turned out sturdy, stylish, and perfectly suited to the customer's needs. If you're interested in seeing how I built the custom brackets for these shelves, be sure to check out my separate video on that process.