DIY Garage Storage Shelves
Introduction
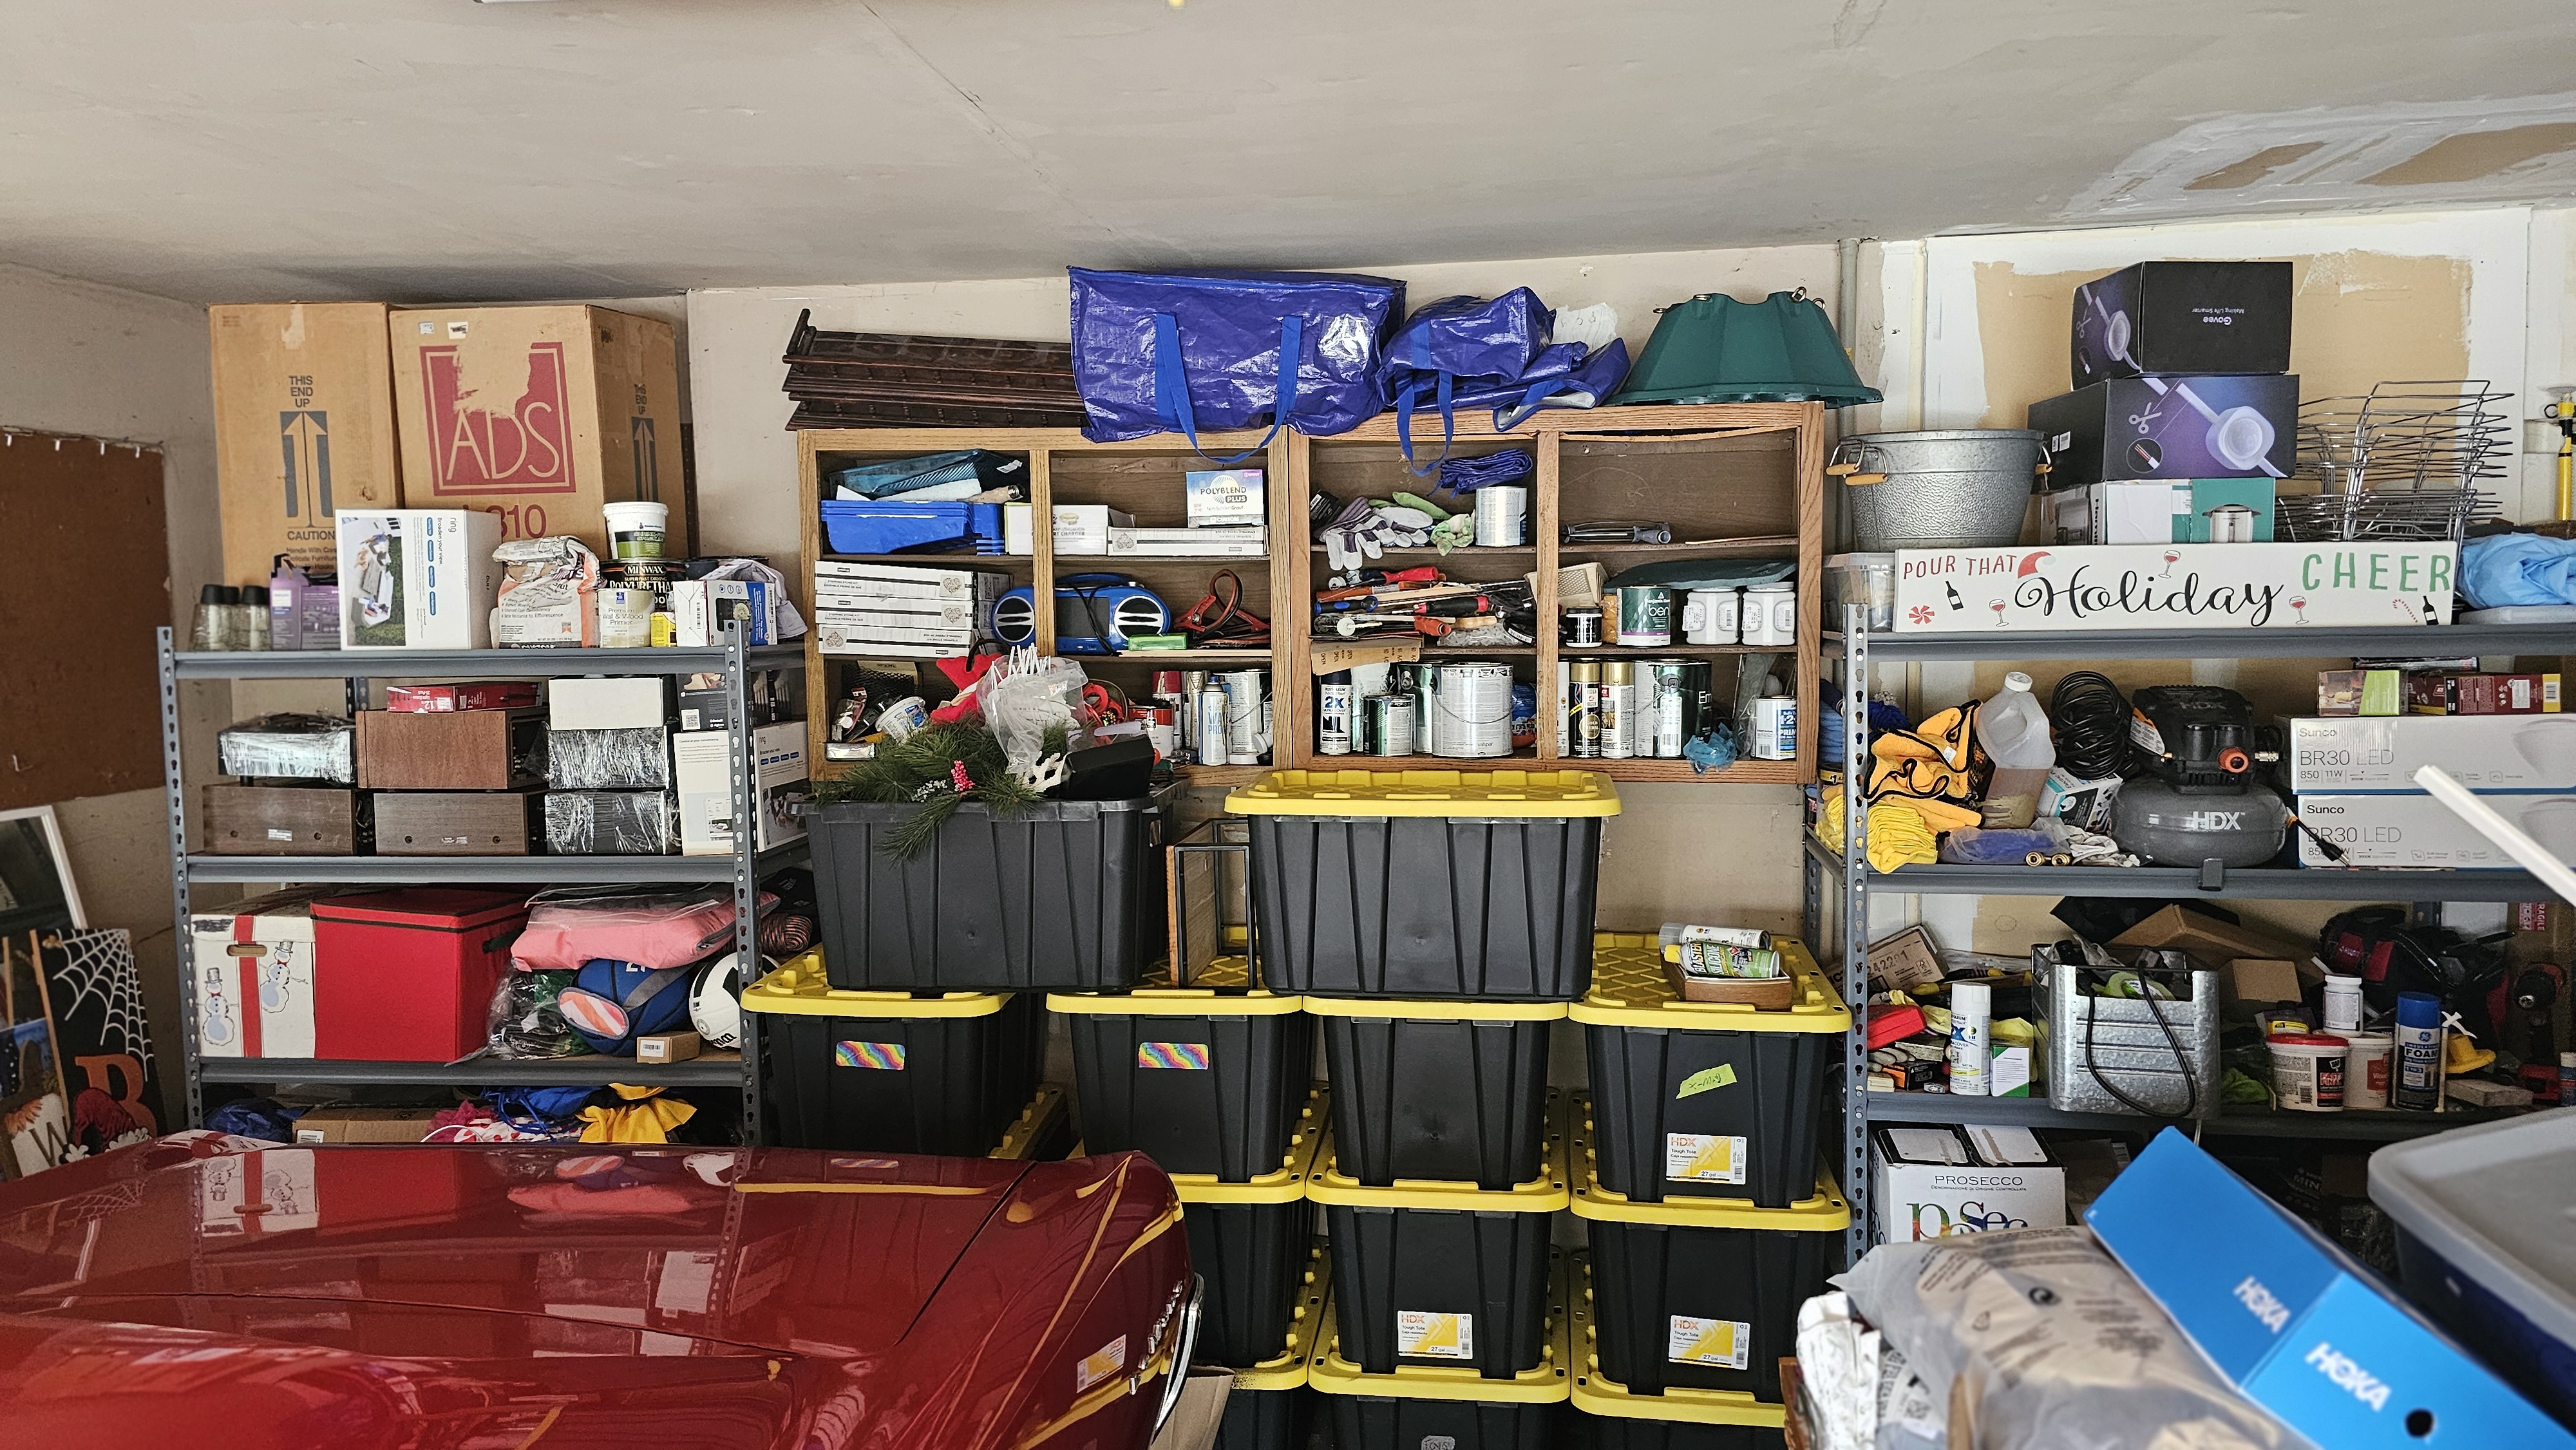
If your garage looks anything like mine used to, you’ve got plastic totes stacked on top of each other, leaning towers of “I’ll deal with that later,” and zero easy access to anything you actually need.
In this project, I’ll walk you through how I built a set of heavy-duty DIY garage storage shelves sized specifically for plastic totes. The design uses basic 2x4s and plywood, goes wall-to-wall, and is built to last.
I originally built these shelves for a client’s garage, and they were so happy with the result that I knew it needed to live here on The Woodworking Corner as a full project walkthrough.
These storage shelves are easy to do and are repeatable, meaning you can put in the garage or the basement or even in the attic.Watch the full tutorial video on YouTube: Garage Storage Shelves Tutorial
Watch the Tutorial
Project Overview
These shelves are designed around standard plastic storage totes. The goal is simple:
- Each tote has its own “parking spot” on a shelf.
- No more stacking totes on top of each other.
- Enough space to slide totes in and out without fighting for clearance.
- Strong enough to hold a fully loaded row of totes without sagging.
For this build, the shelves span the full width of one garage wall and are tied directly into the studs for strength and stability.
Materials
Here’s a general breakdown of what you’ll need (adjust for your wall length and number of shelves):
- 2x4 lumber for vertical legs and horizontal shelf supports
- 3/4" plywood or OSB for the shelf surfaces
- 3" construction screws for framing
- 1 5/8" screws for attaching the plywood to the frames
- Shims (if your floor or wall is out of level or out of plumb)
- Wood glue (optional, for extra strength in certain joints)
Before you cut anything, measure your totes: height, width, and depth. Those dimensions will drive your shelf spacing and depth.
Tools Used
- Table saw or circular saw for cutting plywood
- Miter saw for cutting 2x4s to length
- Drill/driver for pre-drilling and driving screws
- Tape measure, pencil, and layout square
- Stud finder and level for locating studs and keeping everything straight
You can find many of the tools I use regularly in my Tool Center.
Planning Your Shelf Layout
Start by deciding exactly where on the wall these shelves are going and how many levels you want. A common setup is three or four shelves, with the bottom shelf sitting just off the floor.
- Measure the length of the wall you’re using.
- Measure the depth of your totes and add a little extra for clearance.
- Measure the height of your totes and add 1–2" to each shelf opening.
- Sketch a quick side view with shelf heights marked.
Taking ten minutes on a simple sketch saves a lot of rework once you start cutting.
Building the Shelf Frames
I like to build these shelves in two parts: the horizontal shelf frames and the vertical legs.
-
Cut the 2x4s for the shelf frames.
Each frame is basically a rectangle of 2x4s, sized to the wall length and shelf depth you planned. -
Assemble the frames with screws.
Use 3" construction screws at each joint. Check for square as you go. -
Cut the plywood.
Rip plywood or OSB to match your shelf depth and cut it to your wall length. -
Attach the plywood to the frames.
Drive 1 5/8" screws every 8–10" along the framing underneath.
Installing the Shelves in the Garage
With the frames built, it’s time to bring everything into the garage and install it in place.
-
Locate and mark the studs.
Use a stud finder and mark a vertical line where each stud is along the wall. -
Set the bottom shelf height.
Decide how high off the floor you want the bottom shelf and mark that line around the wall. -
Secure the back of the frame to the wall.
Hold the bottom frame in place (a helper is nice here), level it, and drive 3" screws through the back 2x4 into each stud. -
Add the vertical legs.
Once the bottom shelf is locked into the wall, add vertical 2x4 legs at the front corners and wherever else you need support. Screw down through the shelf into the legs. -
Repeat for upper shelves.
Work your way up the wall, using your tote height marks to keep consistent spacing.
Finishing Touches and Safety
- Double-check that the shelves are secured into studs, not just drywall.
- Make sure there’s no noticeable sag when all the totes are loaded.
- Consider adding a small lip at the front of each shelf to keep totes from sliding.
- If you want a cleaner look, you can sand sharp corners and knock down any splinters.
Remember, these are working shelves for a garage, so function matters more than perfect cosmetics. As long as they’re safe, sturdy, and organized, you’ve won.
Conclusion
A set of well-built garage storage shelves makes a huge difference in how your space feels and functions. No more digging through piles of totes, and no more mystery stacks in the corner.
If you build a version of these shelves, I’d love to see it. Snap a photo and tag The Woodworking Corner on YouTube or Pinterest so I can check out your setup.
Happy building, and enjoy the extra breathing room in your garage.